Artist Biography
I was born in Madison, Wisconsin and grew up in Neenah, Wisconsin after my family moved there in the late 1950’s. I developed an affinity for art at an early age (some of my earliest memories are of drawing). I continued to pursue my interest in art throughout high school and college and graduated from the University of Wisconsin-Oshkosh in 1981 with a Bachelor of Fine Arts degree in drawing and printmaking. Following graduation, I moved back to Madison where I continued printmaking in rented studio space until 2008 when I was fortunate to be able to purchase a printing press for my home. This purchase resulted in a dramatic increase in my productivity and also coincided with a shift in my subject matter from primarily figurative imagery toward the natural forms that comprise my current work.
I retired in 2022 after a long career at the University of Wisconsin Press and I live in Madison with my wife Karen.
About The Prints
My subject of my current work began several years ago as a study of movement and motion in nature, evolving eventually into a more abstract exploration of randomness and instability in nature; sometimes hidden behind a façade of tranquility and order. I’ve utilized natural imagery (branches, rocks, roots, insects, wind, fire) as metaphors for the forces in nature and I’ve tried to evoke in the prints the randomness and unpredictability of the natural interactions they represent. An underlying concept, though perhaps not readily apparent in the imagery, is the human struggle to harness and control the forces of nature and the ultimate futility of this effort.
Method/Process
RELIEF PRINTING
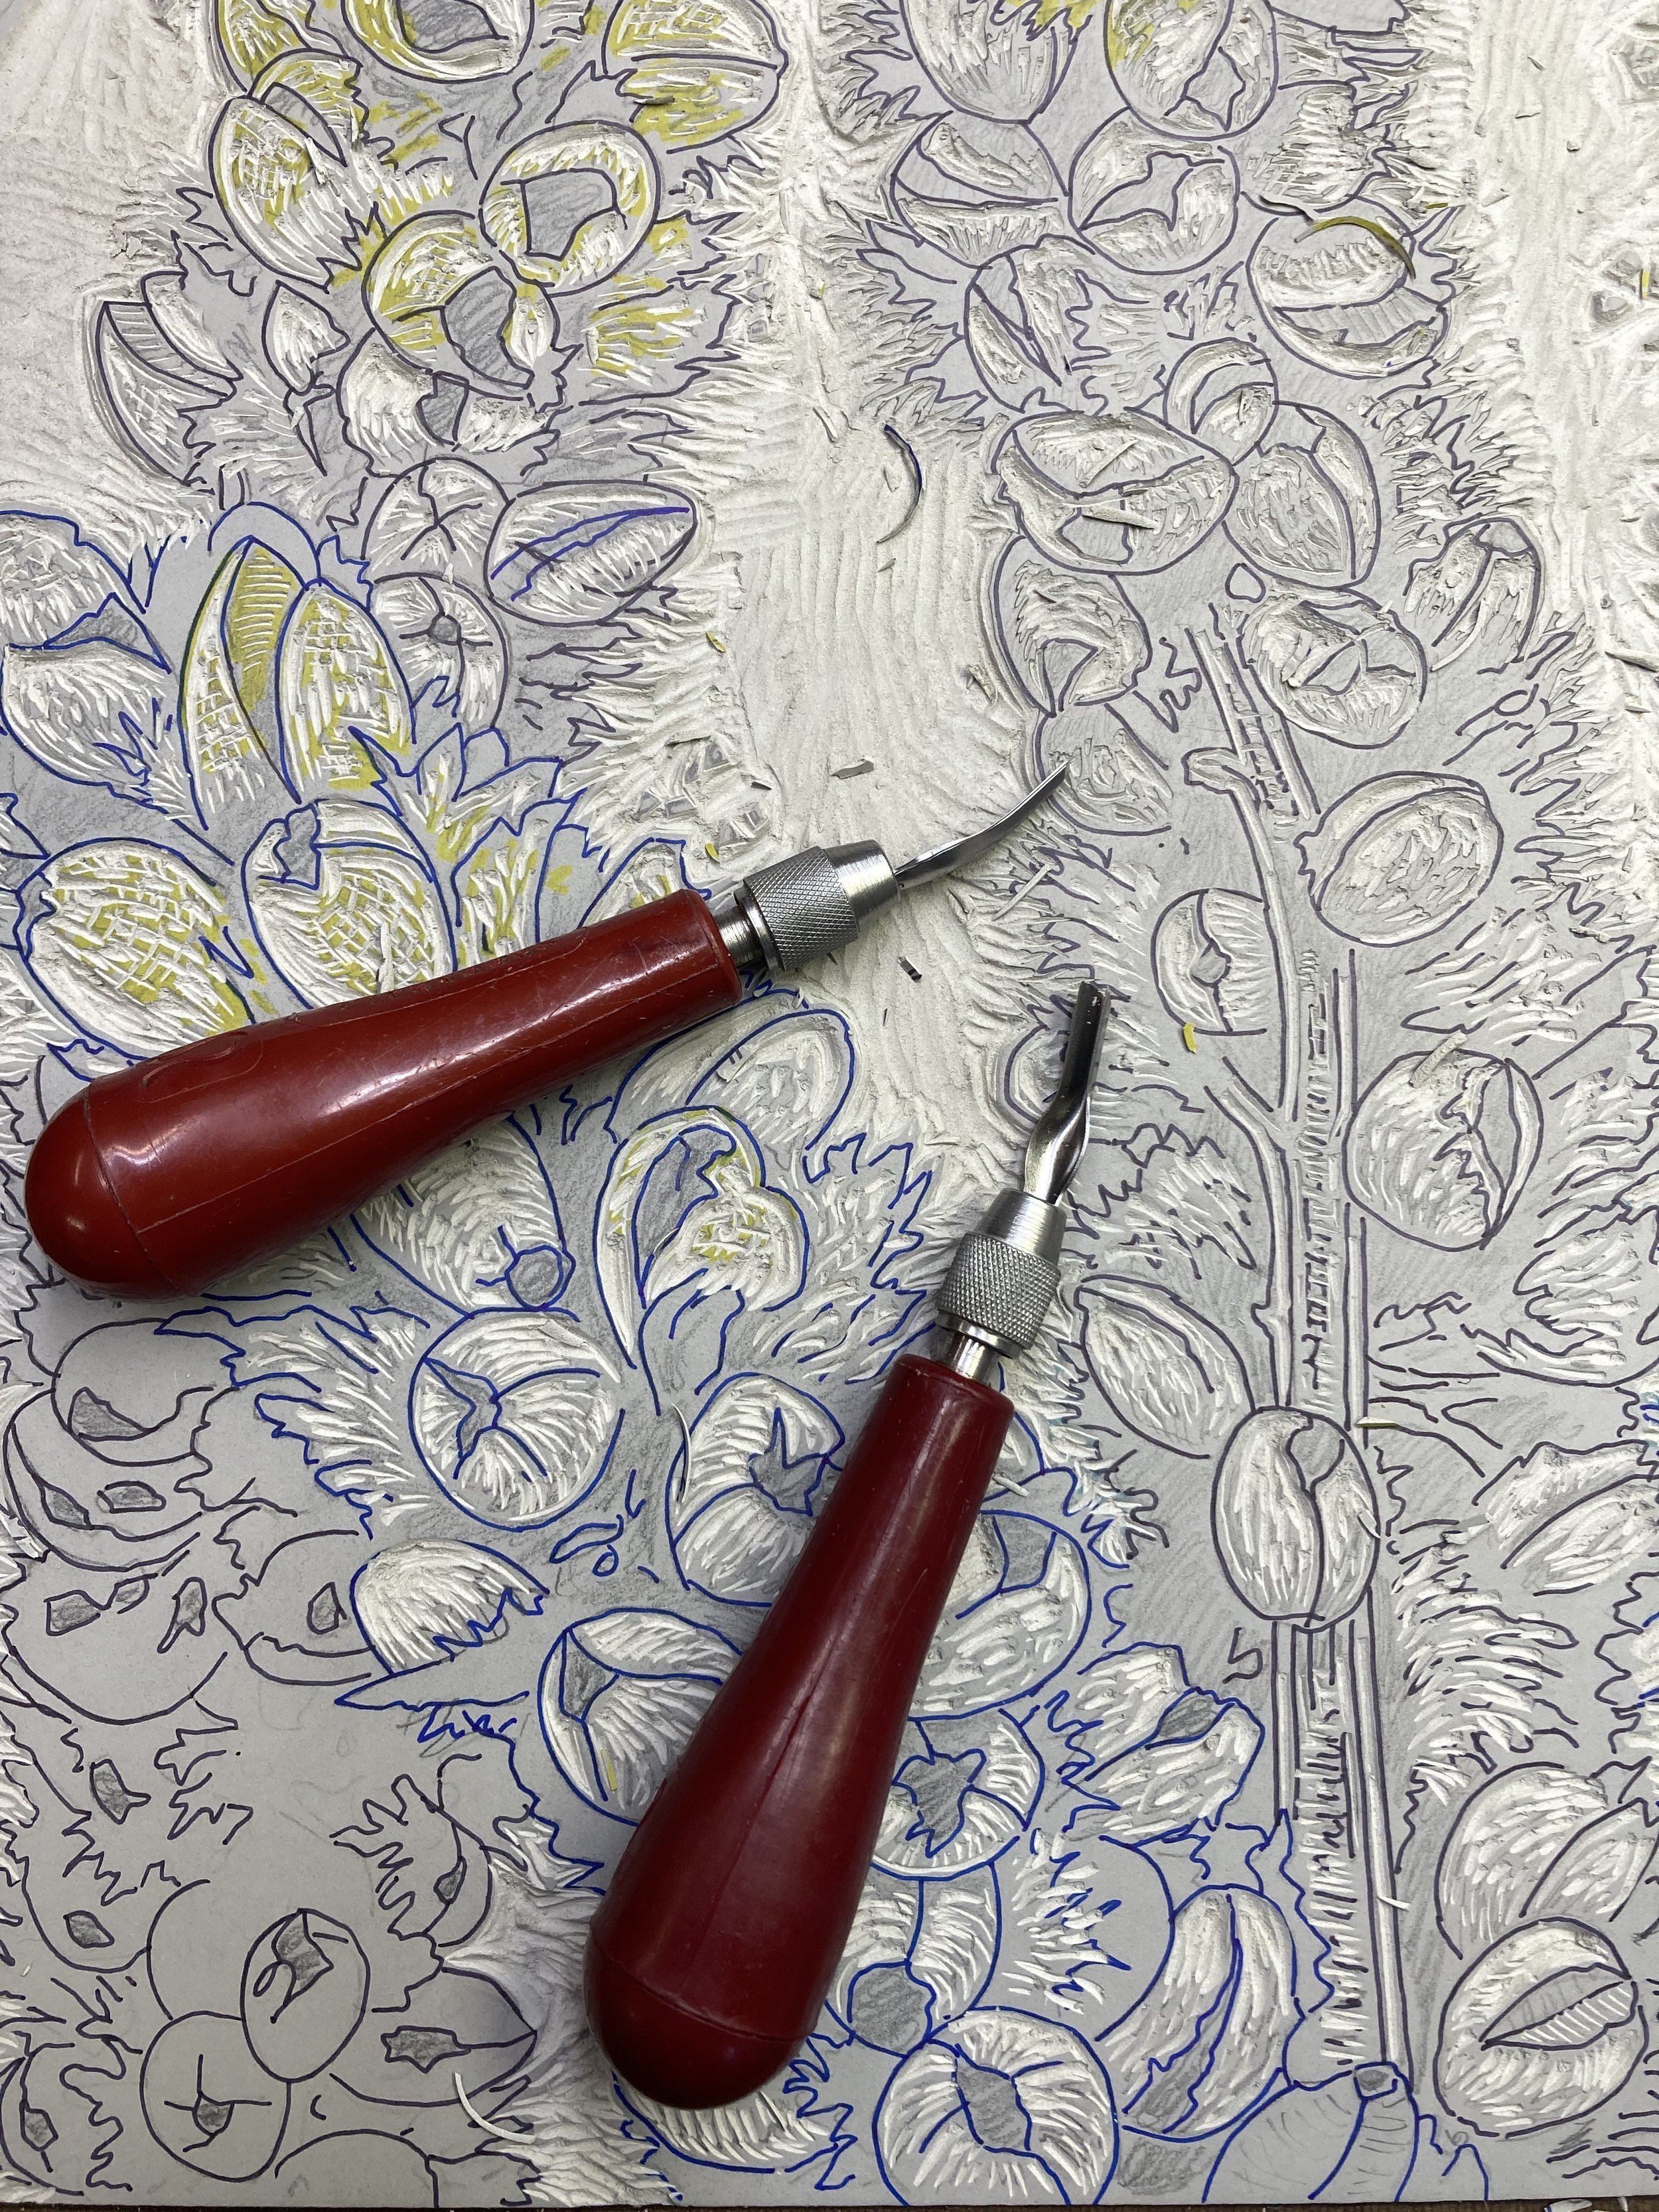
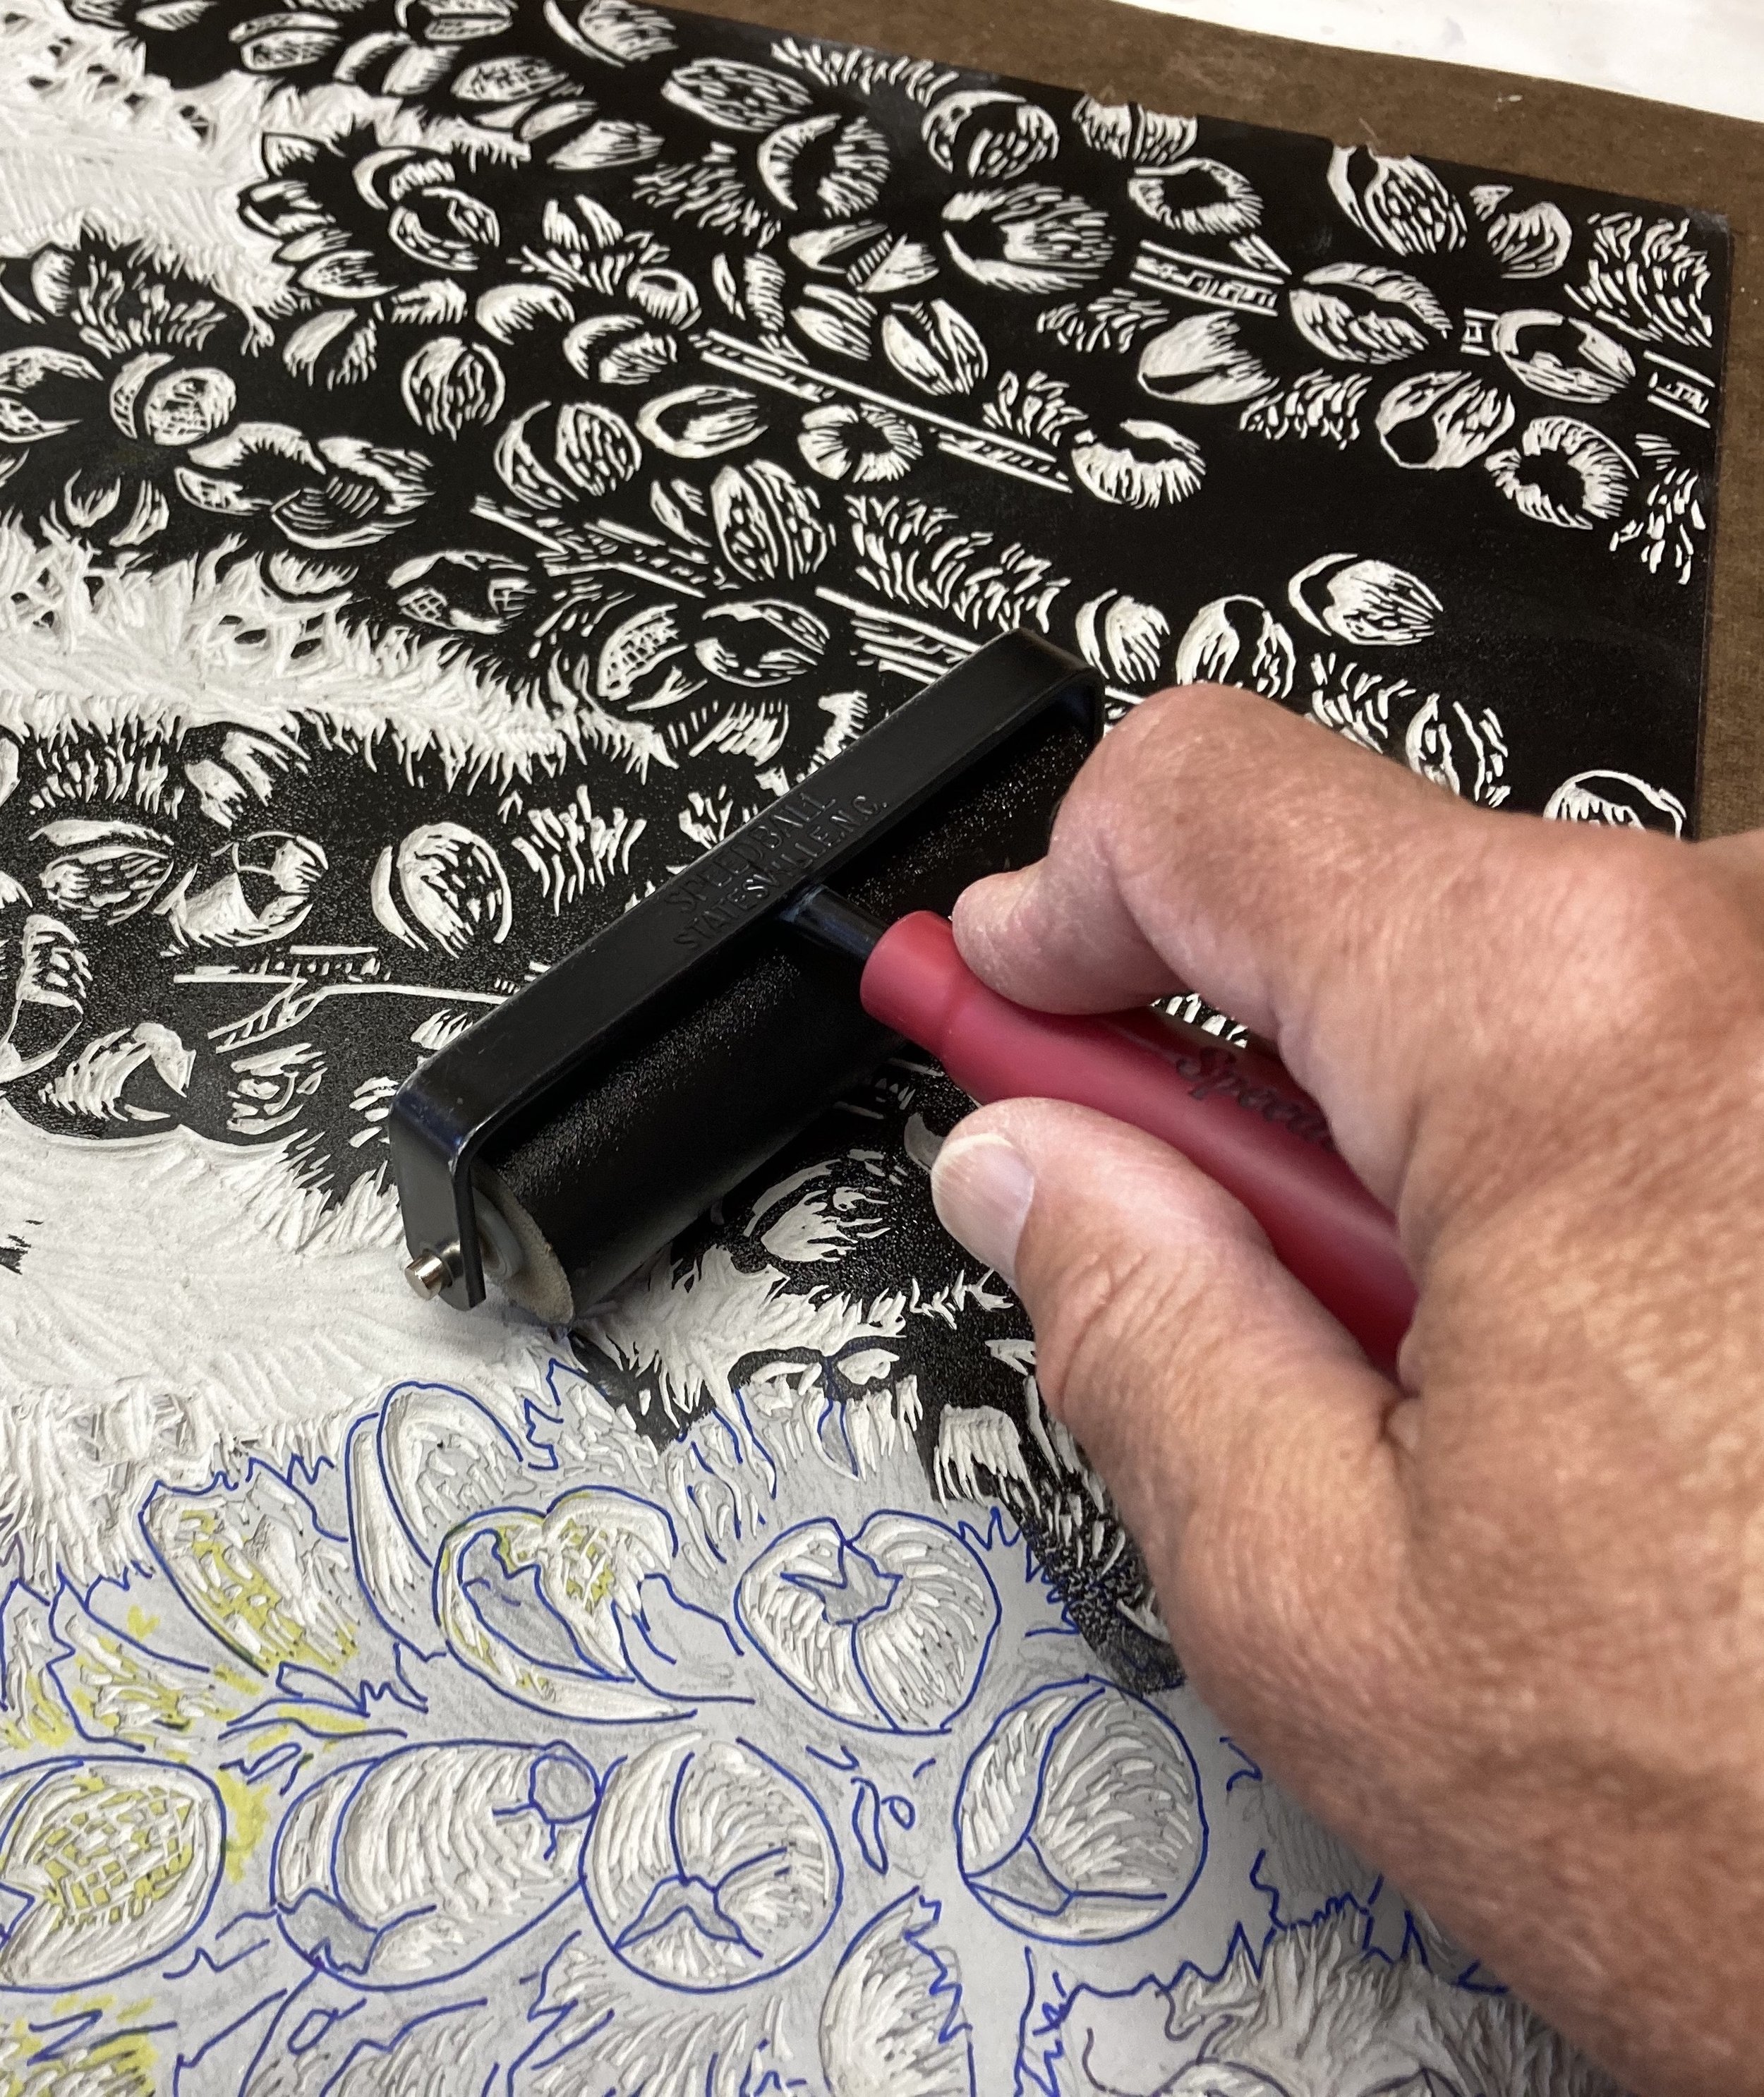
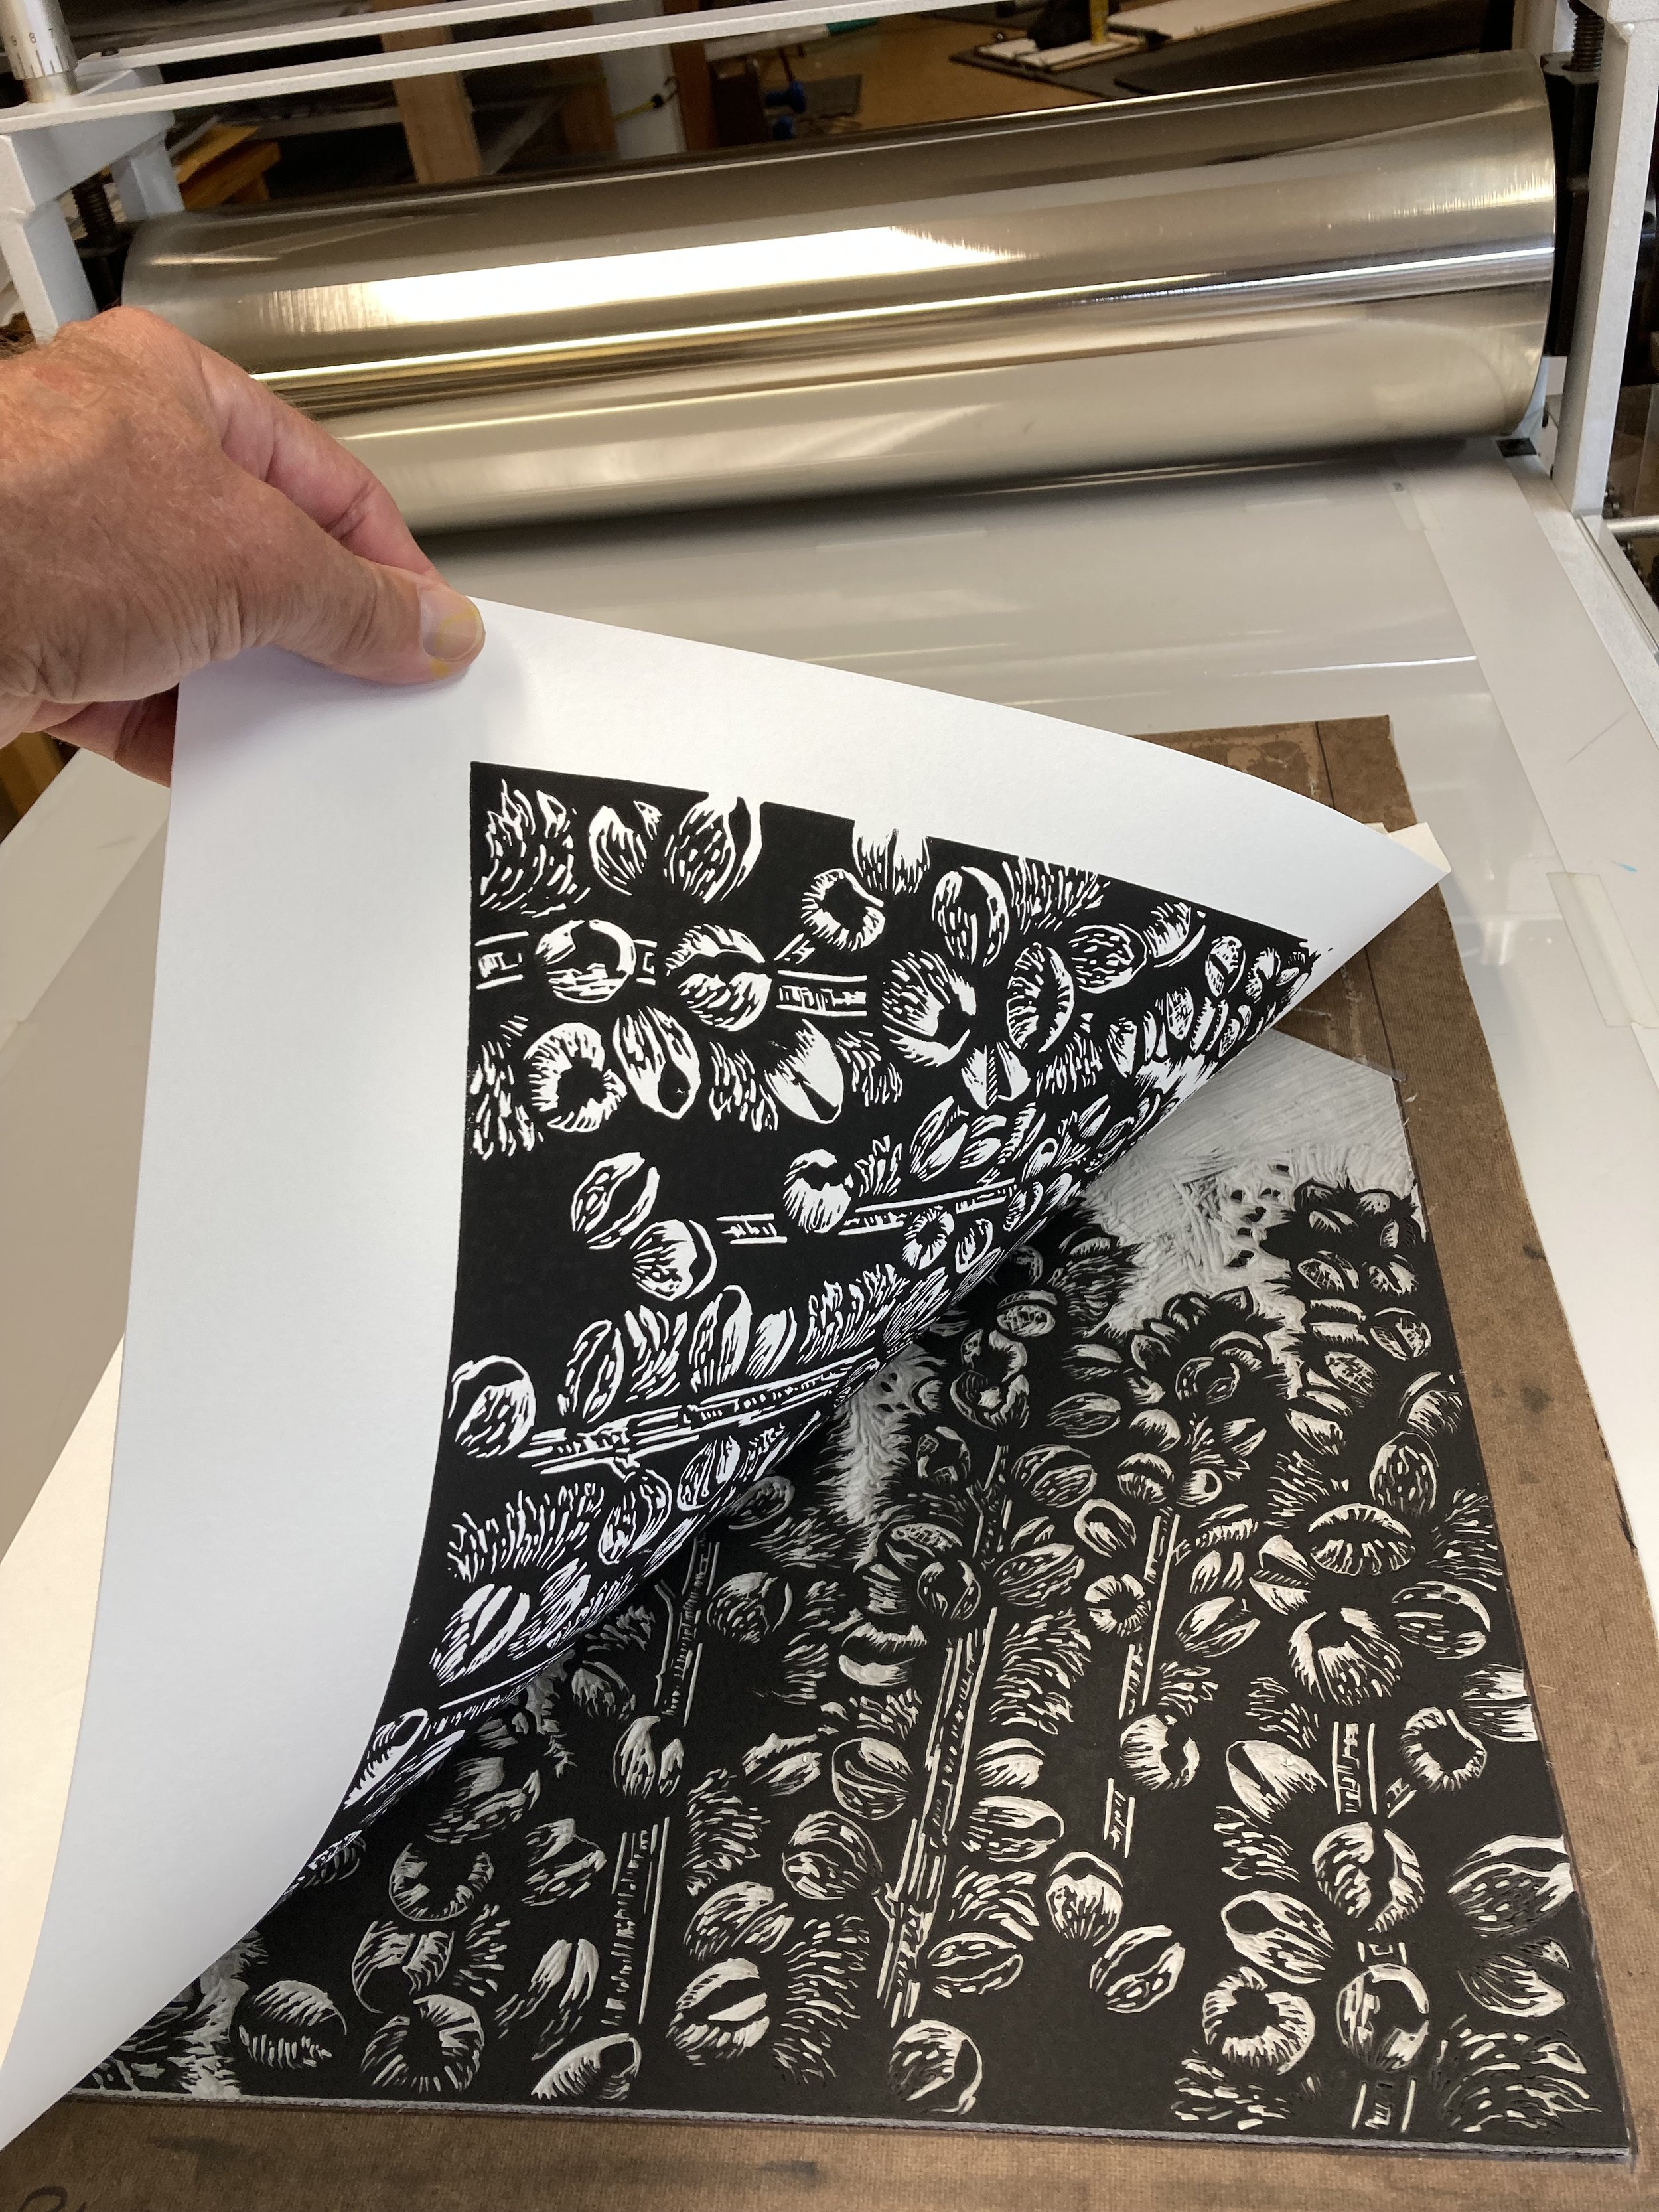
Relief printing is printing from a raised (relief) surface and is the style most commonly associated with woodcuts. Linoleum is a softer, easier-to-cut material than wood but the cutting and printing process is essentially identical to that of woodcut printing. The artist begins with a flat surface (either wood or linoleum) and cuts away the negative parts of their design leaving the design itself as a raised “relief”. This raised surface is then inked with a roller or brayer, paper is placed on the block of wood or linoleum, and pressure is applied (either by hand or with a printing press). The inked design is transferred to the paper and the print is created.
After focusing primarily on drawing and other print media for many years, I settled on linoleum block relief printing as the most appropriate media for expressing my ideas. I prefer the dramatic, harder-edged effects that can be achieved by printing from a cut block over the more subtle effects achieved with pencil, paint, or other printing methods. Cutting also leads to some interesting surprises in how parts of a block may print relative to how a particular cut was intended. Prints often evolve in unexpected directions as the cutting and proofing of the blocks proceed and I’ve always found this to be an interesting part of the creative process.
A few years ago, I began creating a photo archive of natural images to use in my work by photographing any natural form that I found visually interesting. Sometimes the discovery of an interesting image would drive an idea for a new print and sometimes a new idea or inspiration would send me on a search through the archives for an appropriate image or images to use. The archive currently contains hundreds of photos and I’m constantly adding new images. I also have a physical archive of natural forms (branches, roots, plants, nests, hives, insects, etc.) that I can refer to when needed.
At the outset of a new idea, I’ll create a quick concept sketch to establish the basic imagery and movement that I’ll want in the new print. Then I refine, re-work, and enlarge the concept sketch progressively until I feel that the drawing is ready to transfer to the block of linoleum. This process often involves adding or deleting imagery as the concept evolves and the level of detail in the final drawing varies from piece to piece. Sometimes I work out most of the detail in the drawing; other times I’ll keep this sketch a little more loose and less refined to allow for more creativity while cutting the block. I let the particular idea guide me in which method to use. I’m also aware that the degree to which I work out details in the final transfer drawing may impact how long a particular print may take to complete, regardless of the size dimensions. The more details I can work out prior to cutting, the quicker the cutting process will proceed. Admittedly, working out all of the details ahead of cutting isn’t always a choice on my part. Some ideas are simply more refined or resolved in my mind than others before cutting begins.
I won’t begin production of the color blocks until I’m satisfied with the black block as an accurate representation of the original idea. I prefer to cut separate blocks for each color as opposed to doing reduction prints. This allows me the flexibility to experiment with alternate color combinations within the parameters of a single idea. Printing generally proceeds from light to dark, with each successive color overprinting the previous color, finishing with the black block.


